


Step One
If your hard drive is an external drive, connect it to the computer. Launch Disk Utility from the Applications:Utilities folder.

Step Two
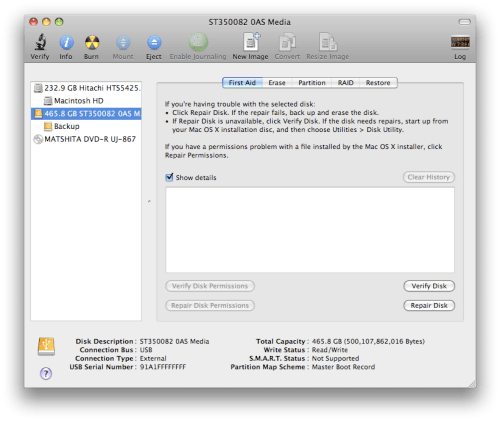
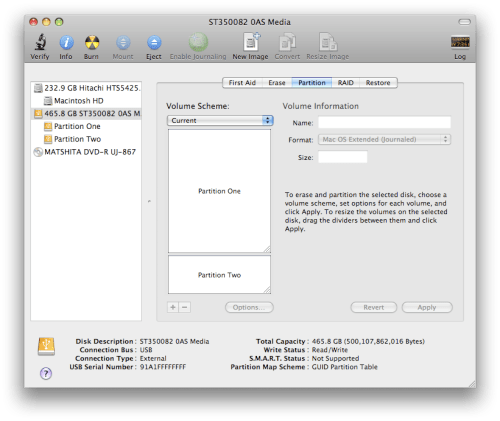
From the list on the left select the drive you would like to format
Step Three
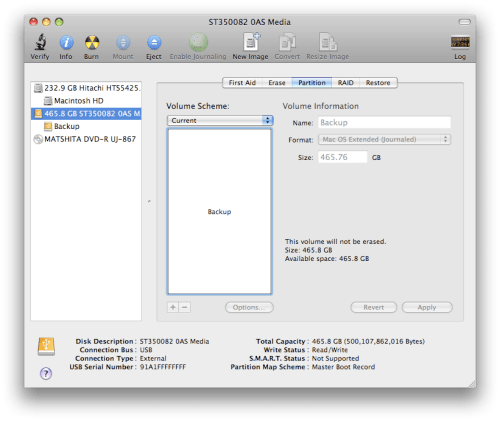
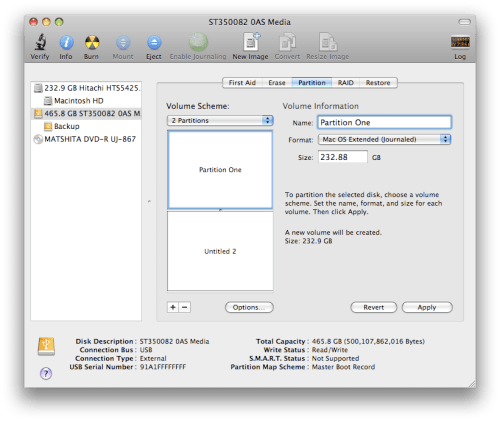
Click to select the Partition tab.
Step Four
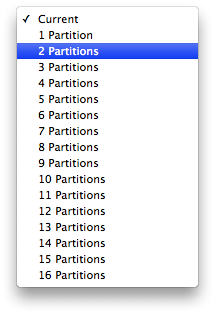
From the Volume Scheme dropdown select the number of partitions you would like to create on the drive.
Step Five
Select a Partition (ie Untitled 1) then give it a Name, Format, and Size.
Step Six
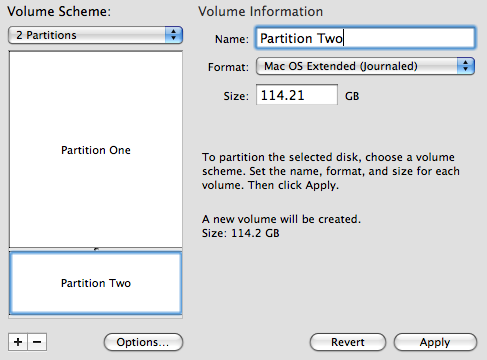
You can also drag the handle between the partition boxes to resize the partitions.

Step Seven
Select the remaining partitions and enter their Volume Information.
Step Eight
Note you can use the Plus and Minus buttons to add or remove partitions.
Step Nine
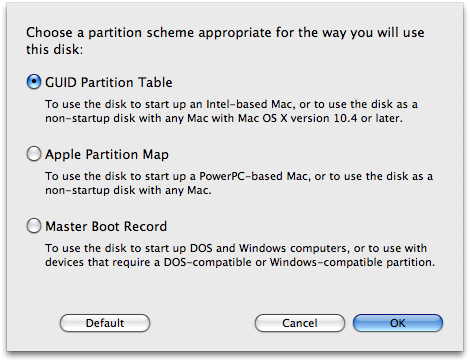
Press the Options... button to choose a partition scheme for the hard disk.
To use the disk to start up an Intel Mac select GUID Partition Table. To use the hard disk to start up a PowerPC Mac select Apple Partition Map. To use the disk to start up a Windows computer select Master Boot Record. Press the OK button to set this option.
Step Ten
Press the Apply button to begin partitioning.
Step Eleven
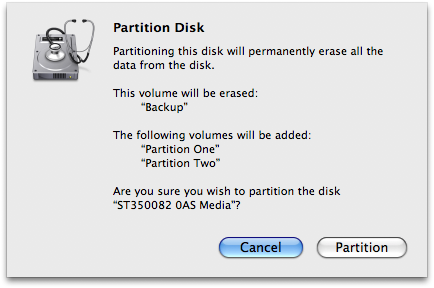
A window will popup asking you to confirm the partitioning. Please note this will permanently erase all data from the disk. Click the Partition button to continue.
Step Twelve
Notice the status bar shows the progress of the partitioning.
Step Thirteen
Once the partitioning is complete Disk Utility will update and show the new volume information for your hard disk!


0 comments:
Post a Comment