


Step One
Purchase Parallels for Mac from here.
Step Two
After purchasing Parallels you will be able to download the Parallels dmg file or you will receive a CD in the mail. Insert the CD or double click the downloaded dmg file to mount it.

Step Three
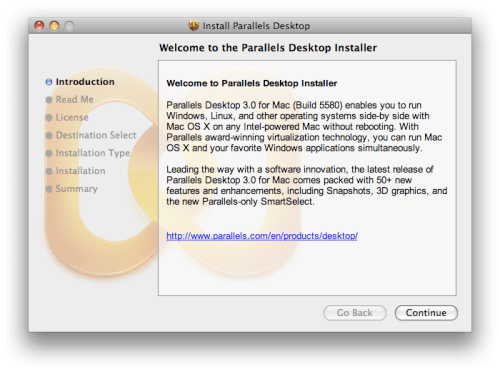
Double click the Install Parallels Desktop icon.

Click Continue to begin the installation.
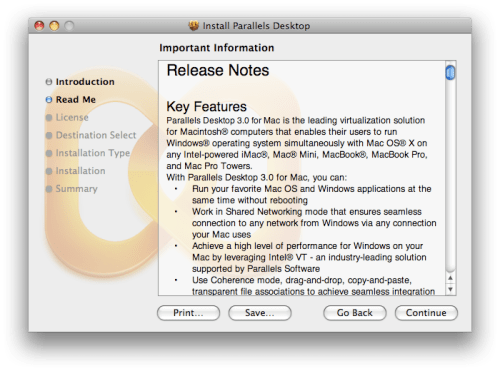
Read the release notes then click the Continue button.
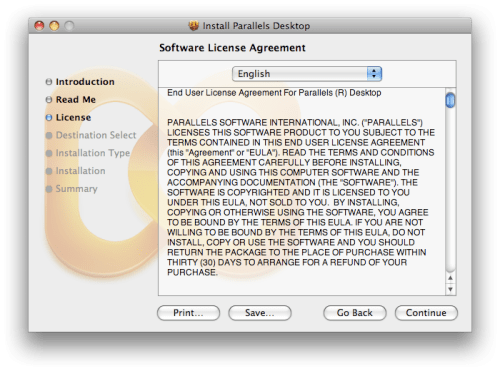
Read the software license agreement and click the Continue button.
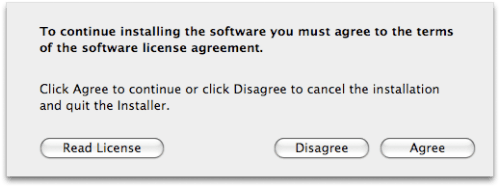
You will then be asked to accept the agreement by clicking the Accept button.
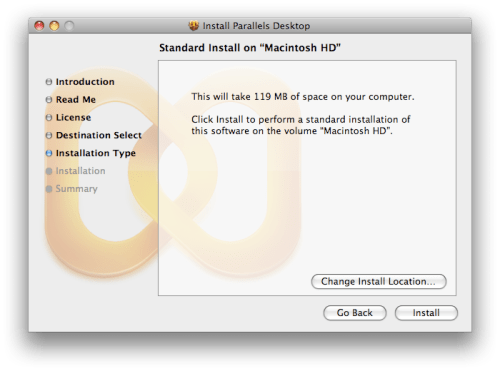
Click the Install button to begin installation on your primary hard drive. If you would like to select a direct install location you can click the Change Install Location... button.
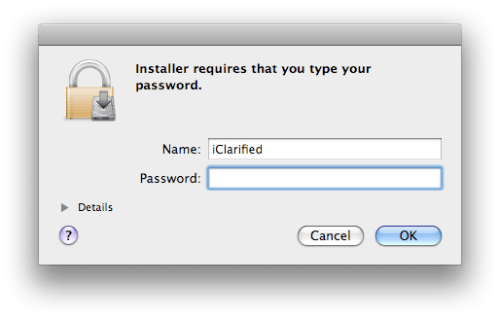
You may be asked to enter your administrative username and password. Do this then click the OK button.
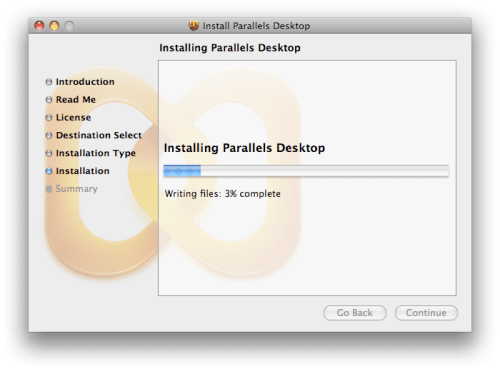
Parallels will now install.
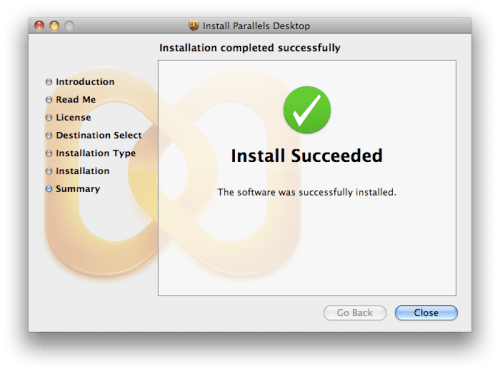
Once installation has finished click the Close button.
Step Four
The installation will have created and opened a Parallels folder in your applications folder. Double click theParallels Desktop icon.

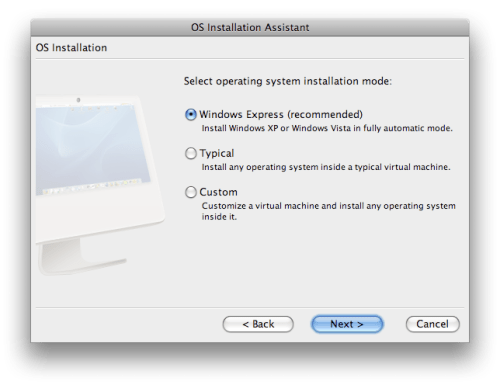
The OS Installation Assistant will ask you to select your operating system installation mode. Select Windows Express then click the Next button.
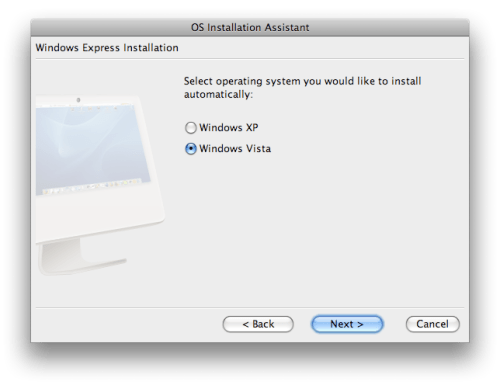
You will now be asked to select the operating system you would like to install automatically. If you select Windows XP this process will be similar but not exactly the same. Click the Nextbutton to continue.
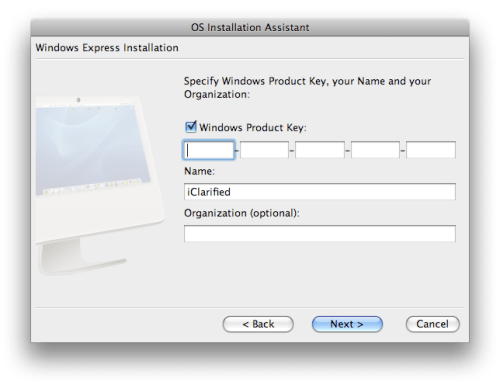
Enter your Windows Product Key, your name and your organization. Then click the Next button.
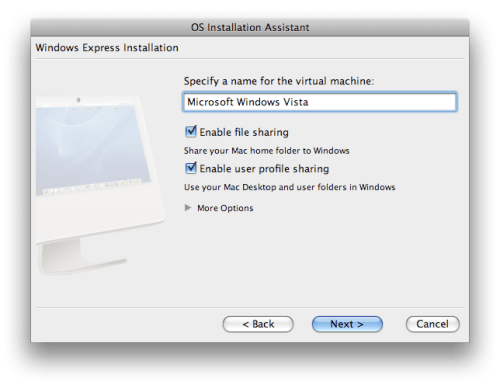
Specify a name for the virtual machine. You can leave the default name of "Microsoft Windows Vista". Check to enable file sharing if you want to share your Mac home folder to Windows. Check to enable user profile sharing if you would like to use your Mac Desktop and user folders in Windows. Click the Next button to continue.
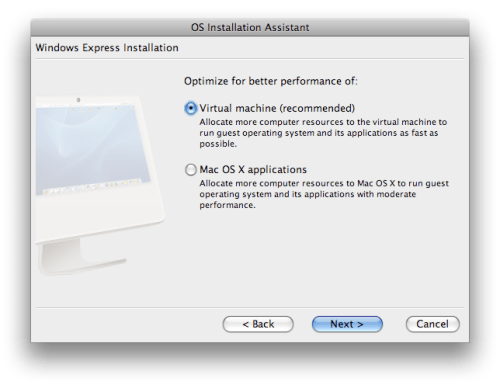
Now you must choose whether to optimize for the running of Windows or Mac. If you want Windows to take priority when it is running then select Virtual Machine. Otherwise, select Mac OS X applications. Click theNext button to continue.
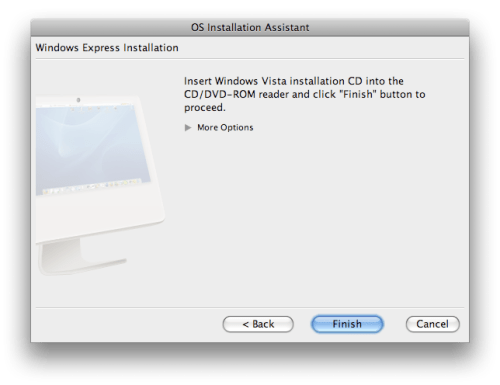
You will now have to insert the Windows installation CD and click the Finish button.
Step Five
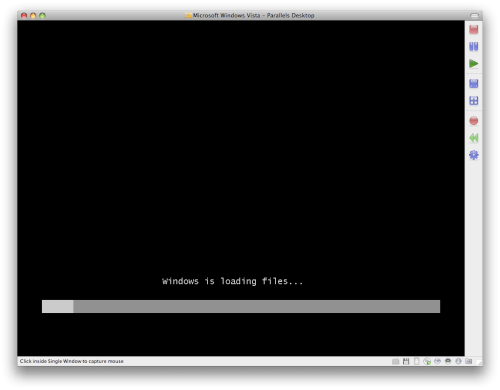
Windows will now begin to load files...
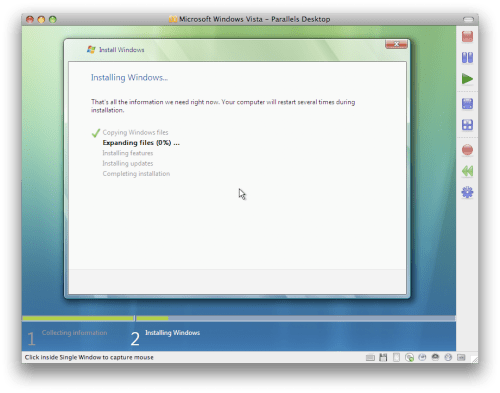
The GUI will load and Windows will start expanding files
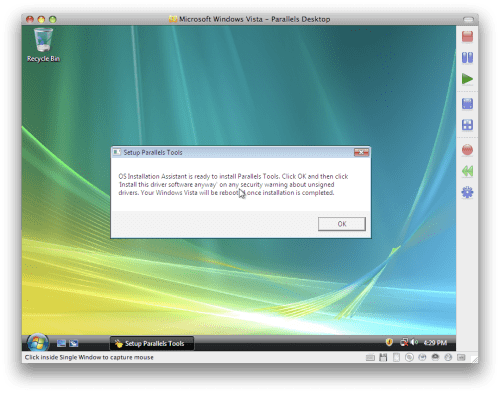
Parallels will then inform you that the OS Installation Assistant is ready to install Parallel Tools. Click the OKbutton.
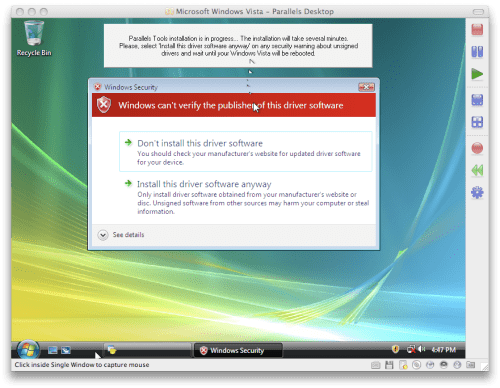
Windows Security will now display about 5 or 6 alert messages. This messages will tell you that Windows can't verify the publisher of this driver software. Click the Install this driver software anyway button.
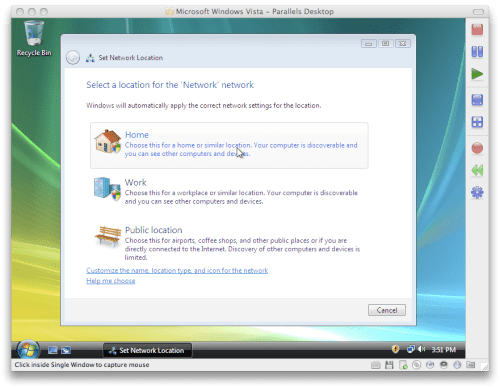
Finally windows will ask your to select the location your computer. I selected Home.
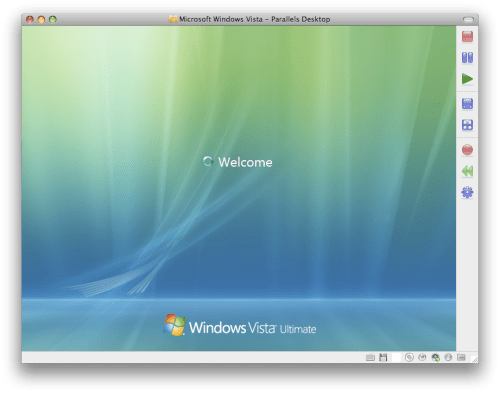
At this point Windows automatically rebooted for me.
Step Six
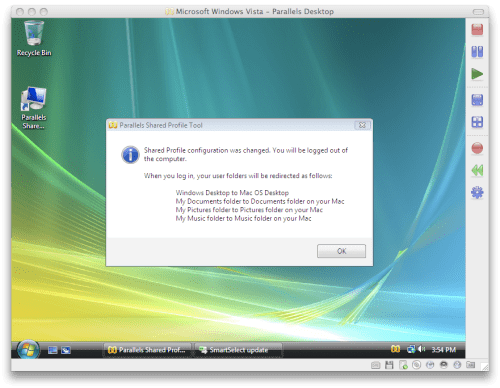
Once Vista has rebooted it will inform you that its Shared Profile configuration was changed. You will be logged out of Windows and when you log back in your user folders will be redirected to those of your Mac profile. Click the OK button.
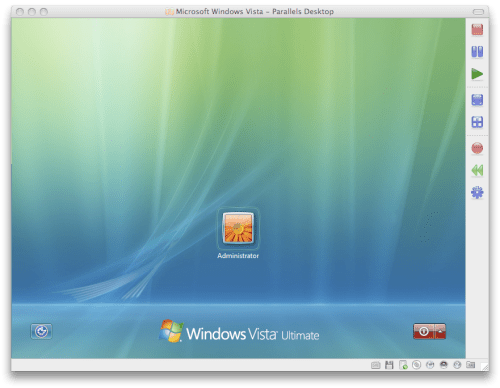
Vista will log you out and bring you to the login screen. Click the Administrator icon.
Step Seven
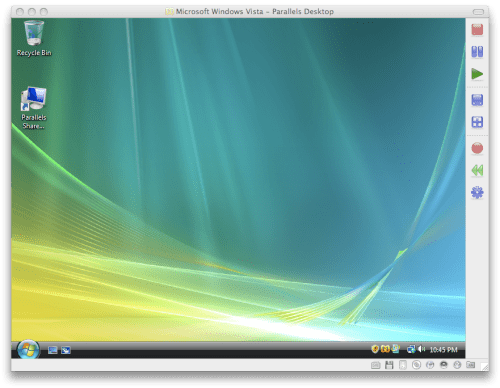
Congratulations you have now successfully installed Windows Vista on your Mac!
Purchase Parallels for Mac from here.
Step Two
After purchasing Parallels you will be able to download the Parallels dmg file or you will receive a CD in the mail. Insert the CD or double click the downloaded dmg file to mount it.
Step Three
Double click the Install Parallels Desktop icon.
Click Continue to begin the installation.
Read the release notes then click the Continue button.
Read the software license agreement and click the Continue button.
You will then be asked to accept the agreement by clicking the Accept button.
Click the Install button to begin installation on your primary hard drive. If you would like to select a direct install location you can click the Change Install Location... button.
You may be asked to enter your administrative username and password. Do this then click the OK button.
Parallels will now install.
Once installation has finished click the Close button.
Step Four
The installation will have created and opened a Parallels folder in your applications folder. Double click theParallels Desktop icon.
The OS Installation Assistant will ask you to select your operating system installation mode. Select Windows Express then click the Next button.
You will now be asked to select the operating system you would like to install automatically. If you select Windows XP this process will be similar but not exactly the same. Click the Nextbutton to continue.
Enter your Windows Product Key, your name and your organization. Then click the Next button.
Specify a name for the virtual machine. You can leave the default name of "Microsoft Windows Vista". Check to enable file sharing if you want to share your Mac home folder to Windows. Check to enable user profile sharing if you would like to use your Mac Desktop and user folders in Windows. Click the Next button to continue.
Now you must choose whether to optimize for the running of Windows or Mac. If you want Windows to take priority when it is running then select Virtual Machine. Otherwise, select Mac OS X applications. Click theNext button to continue.
You will now have to insert the Windows installation CD and click the Finish button.
Step Five
Windows will now begin to load files...
The GUI will load and Windows will start expanding files
Parallels will then inform you that the OS Installation Assistant is ready to install Parallel Tools. Click the OKbutton.
Windows Security will now display about 5 or 6 alert messages. This messages will tell you that Windows can't verify the publisher of this driver software. Click the Install this driver software anyway button.
Finally windows will ask your to select the location your computer. I selected Home.
At this point Windows automatically rebooted for me.
Step Six
Once Vista has rebooted it will inform you that its Shared Profile configuration was changed. You will be logged out of Windows and when you log back in your user folders will be redirected to those of your Mac profile. Click the OK button.
Vista will log you out and bring you to the login screen. Click the Administrator icon.
Step Seven
Congratulations you have now successfully installed Windows Vista on your Mac!


